 |
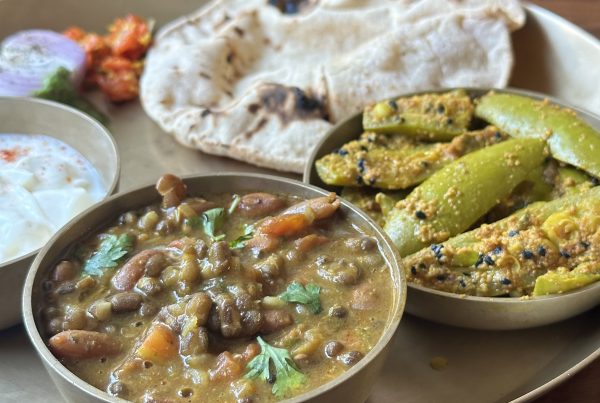
| Khichuri with local ambe more rice and Mahindra Nu Pro Moong dal |
There was no lunch for me at home yesterday, but I didn’t order in as I would have done in the past. I was saved by divine intervention you see.
You think I have lost it? Hold on, I am talking about the khichuri, which is how Bengalis call khichri, that I made for myself yesterday.
I’ve made this dish quite often recently. I have made it when I have had a bad throat and needed something nice and hot. Or when I have a bad stomach and want something light and soothing. Or, on a day like yesterday, when I want to eat something nice and simple, and which takes as little effort (not cooking time) to cook as instant noodles.
Why divine? Well I got this recipe from chef Gobindo of the Bandra Durga Pujo. This is how he cooks the khichuri which is served as bhog at the Durga Pujo and Lokkhi, Shorosoti and Kali pujo too. The pujo khichuri doesn’t use onion or garlic in it but it’s up to you of you want add them. I don’t see a need for it.
Chef Gobindo’s recipe seemed simple enough. I decoded the spices as needed when cooking for one person, or occasionally two if my mother or my mother in law is there, and it has worked very well. I use to make khichuri in the pressure cooker earlier. That’s faster. In this open pan version, I can keep an eye on the khichuri while it cooks and do other work while it happens.
So what I do when I want to have this khichuri is, come back from Candies, soak the rice, and then put the khichuri together. Finish the rest of my work, shave and have my shower while the khichuri cooks, and then sit to eat. I don’t have to tend it while it cooks. I prefer to have my lunch late and pack in as much work as I can before that.
Here’s how I cook the the khichuri
Khichuri recipe: 30 minutes cooking time, 5 minutes of personal effort while cooking
Ingredients (for 2)
- 1 tea cup (ek mutho/ fistful) rice. Washed and soaked for at least an hour. Bengalis prefer the short grained Gobindo bhog for khichuri and my granny confirmed this when I met her this time. I use basmati but recently bought the local ambe mor rice at Mumbai and quite liked the end result. It’s fragrant too
- Half the amount of yellow moong dal as rice. For 1 cup of rice, use 1/2 cup of daal. Gujaratis use green moong too. Not us Bengalis usually. The idea of making food that’s nourishing is for the ingredients to be good. We normally buy loose/ unbranded dals from the local grocers. I am never to sure of its pedigree. This time I tried the new Mahindra Nu Pro Dals. Having worked with the Mahindras quite a bit over the years, including in my market researcher days, I felt that the dal should be of good quality and clean. The end results were pretty satisfactory.
- Condiments: 1 slit green chilli, 1 dry red chilli, 1 tej pata, 1 clove, cardamom and a 1/2 inch bit of cinnamon
- Flavour base: 1/2 teaspoon finely chopped ginger, 1/2 a tomato, cubed, for tanginess
- Spices & seasoning: 1/2 a teaspoon each of red chilli powder (skip chillies if you had bad stomach or throat), coriander and cumin powders, 2/3 teaspoon turmeric, 1/4 teaspoon garam masala powder and 2/3 teaspoon of salt and 1/2 teaspoon of sugar
- 1 teaspoon refined oil, 1 teaspoon ghee. We Bengalis prefer ghee made with cow’s milk and of late I’ve been tripping on a local favourite Calcutta favourite called Jharna ghee. My friends who stay in Kolkata know of other good brands too
- You can also add seasonal vegetables like cauliflowers and green peas now, carrots go well too, and potatoes are a must. Though this time I skipped the potatoes as my diet is rather extravagant in any case
Cook:
- Heat oil
- Add chillies and garam masala and tej pata to the pan
- Add ginger and tomato
- Add vegetables
- Add pre-roasted dal (‘Roasting”: heating washed and drained dal on a hot pan on a fire till the raw dal browns a bit)
- Add rice
- Add spices and seasoning
- Add water and let it cook. This might take about 15 – 25 minutes. Cover the pan with a lid. Check and add water in between if it gets dry
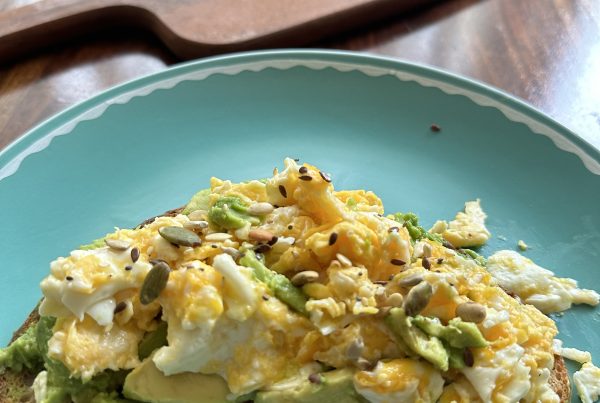
- Once done, add the ghee on top and sprinkle some garam masala powder. Last time I added toasted crushed flax seeds too!
Cooking tips:
- My mother’s tip: dry roast the moong dal in advance and keep it in a jar
- Keep checking the water while the khichuri cooks and add more if it begins to dry.
- Add more water if you want a gola (runny) khichuri and less if you want a jhorjhora/ bhuni (dry) khichuri
You can check these Instagram story pictures to get a feel of the recipe:


You can pair this with fried potatoes, or salli, fried fish (ilish is most epic), fried aubergines or pakoras/ bhajias
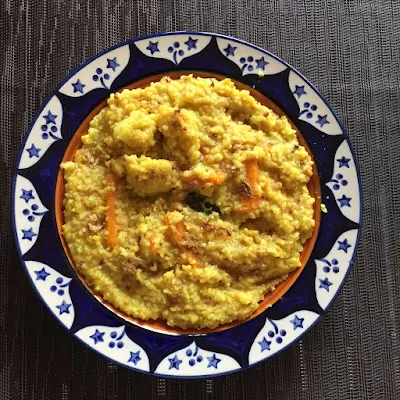
 |
| Khichuri with salli. It was made with basmati rice |
Note: This post was done in association with Mahindra Nu Pro, whose dals I’ve been experimenting with in the kitchen. One thing that I noticed is that the Nu Pro dals cook a bit faster than the dals we use normally


Also see:
- Facebook video of chef Gobindo telling me how to make khichuri
- Link to blog post and video of me cooking khichuri using a pressure cooker
- Blog post on Durga Pujo bhog